A quick overview of how and why I built loiccoyle/tinyticker.
Inspiration
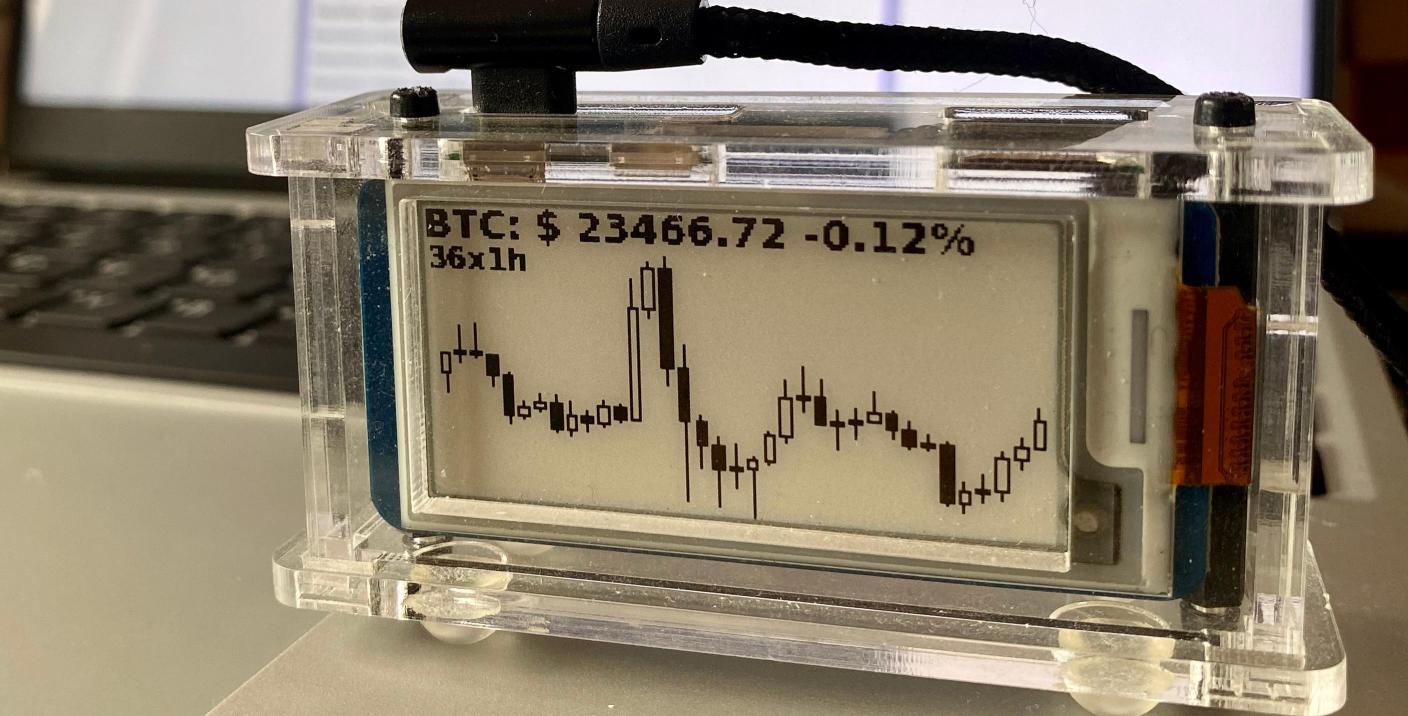
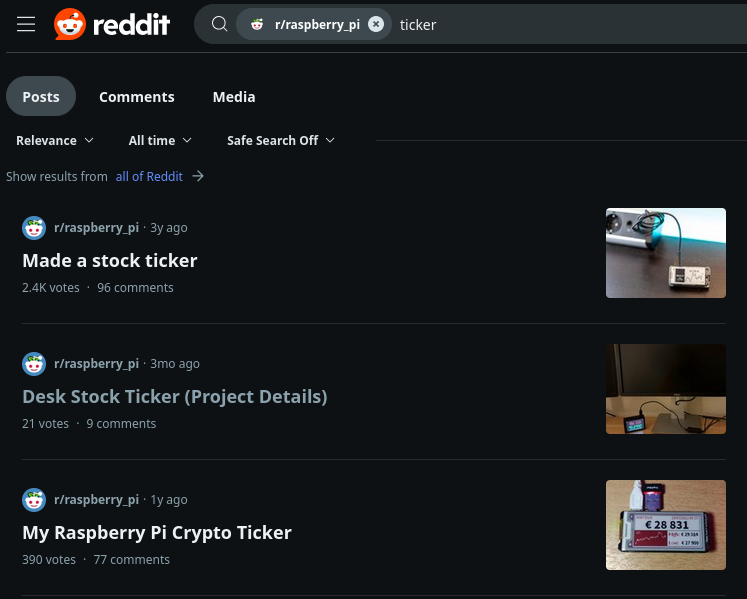
I wanted to make a ticker after seeing many great variations on the theme:
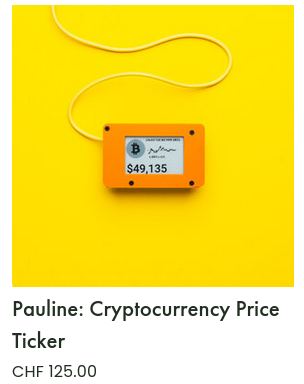
And even some selling for a pretty penny:
While functionally these projects work perfectly well, they are lacking in terms of ease of setup and configuration. Take for examples the one from veeb it runs veebch/btcticker.
🎉 Props to the Veeb guys for open-sourcing their code 🎉
To get it working from scratch you would have to flash a Raspberry Pi OS onto your RPi, get your RPi connected to the network, ssh into it, run a laundry list of commands to install it, setup autostart and configure the ticker itself. On top of that, to change configuration, you’d have to ssh into the RPi and edit the text file.
I wanted something trivial to setup and easy to configure on the fly.
The building blocks
Let’s figure out how to streamline the experience.
Initial Setup
The initial setup should only consist of flashing a purpose made TinyTicker image onto a SD card and connecting the RPi to the internet.
Disk Image
When it comes to Raspberry Pis, the best we can do is provide a disk image which can be flashed to an SD card.
Now the question is, how do we build a disk image?
In comes this great project RPi-Distro/pi-gen courtesy of the RPi team. It allows us to build a customized image for our RPi, with all the packages we need preinstalled and configured.
With a bit of tinkering we have our fork, ready to build
TinyTickerdisk images!
Now it isn’t quite that easy, RPis use ARM CPUs so when building the image on a x86 system we need to use the binfmt_misc kernel module which is a whole thing… Alternatively, we can just build the image on a RPi to avoid having to deal with these architecture issues.
Network Connection
We still need to connect the RPi to the network. Typically, this is done during the SD card creation process by writing the network credentials into the image. But we can do better.
🎉 The great davesteele/comitup comes to the rescue 🎉
When there is no network connection on the RPi, comitup will create a stand-alone access point with a captive portal to setup wifi credentials. So we’ll be able to setup networking from a phone, no tediousness required.
Bootstrap wifi with wifi!
Configuration
Now to tackle configuring the ticker, no ssh allowed.
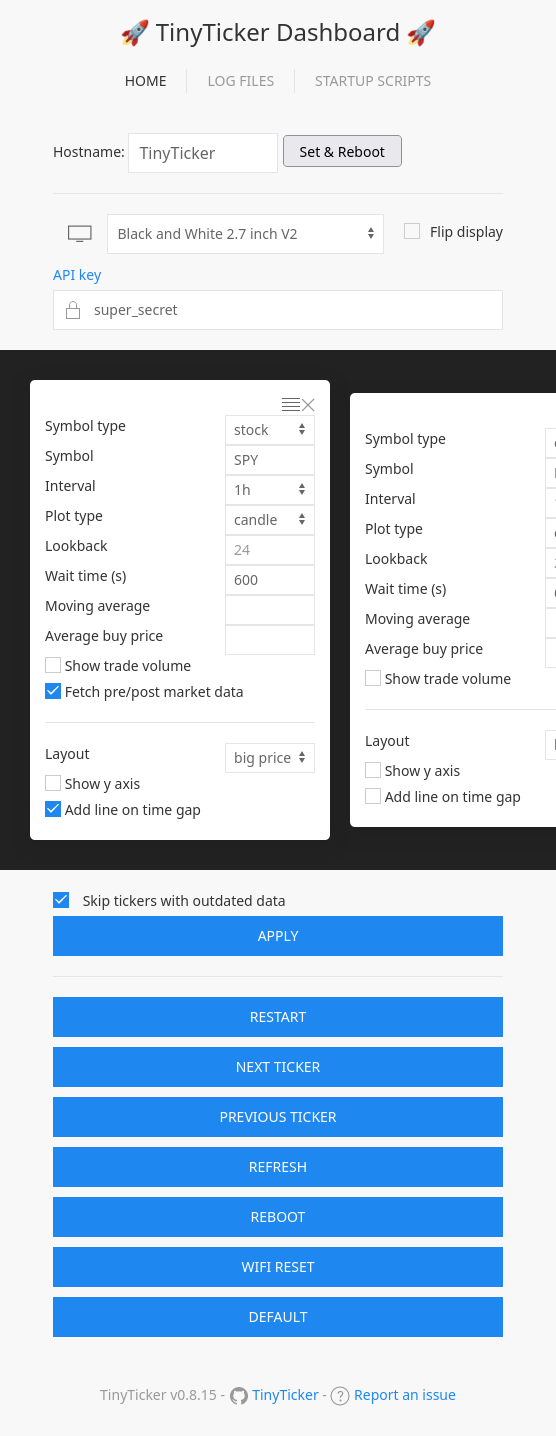
It’s pallets/flask time!
We spin-up a flask web app from the RPi with a UI to configure the various ticker options. And just like that, we can configure the ticker from any device, on the fly without having to resort to ssh.
The Ticker
The ticker only ticks if we can get data, plot some charts and show it on the display.
Financial data
Getting the financial data is the easy part, for the stock market, we can use an unofficial Yahoo Finance API interface package. ranaroussi/yfinance is the most popular choice.
For crypto currency data, cryptocompare has a free API plan and a kind soul has made Python package to interface with it lagerfeuer/cryptocompare.
Plotting
To generate the plots we’ll use matplotlib/mplfinance, we’ll be able to generate all sorts of charts.

Display
To show the plots on the ePaper display WaveShare provides waveshareteam/e-Paper to do just that. The library is honestly very rough but with some spring cleaning it’ll do.
Connecting the pieces
Now that we have the building blocks, with a bit of elbow grease and keyboard clacks loiccoyle/tinyticker is born.
TinyTicker
On startup, the RPi starts the web app and the ticker process.
The user connects to the web app and sets up their tickers. The web app writes the config file:
{
  "tickers": [
    {
      "symbol_type": "stock",
      "symbol": "SPY",
      "interval": "1m",
      "lookback": null,
      "wait_time": 600,
      "plot_type": "line",
      "mav": null,
...
The ticker process monitors the config file for changes, when a change is detected the ticking thread is restarted.
A TCP socket is also opened between the flask app and the ticker process to allow the user to send commands to the ticker process.
The ticker process iterates over the configured tickers, for each one, it fetches data, create a plot, displays the plot on the ePaper display, puts it into sleep mode and sleeps the configured time before moving on to the next ticker.

Continuous Deployment
To rebuild the image on every release, a github self-hosted action runner is set up on a RPi I had lying around.
Every release, a trigger is sent off from a TinyTicker workflow, to start the image build job on my RPi.
Once the image is built, it is uploaded to a shared google drive folder.
Here is the trigger:
---
trigger_image_build:
  name: Trigger tinyticker disk image build
  needs: publish
  if: github.event_name == 'push' && startsWith(github.ref, 'refs/tags')
  runs-on: ubuntu-latest
  steps:
    - name: Workflow dispatch
      run: gh workflow run "Build TinyTicker RPi image" --json --ref refs/heads/main --repo loiccoyle/private.actionsrunner
      env:
        GH_TOKEN: ${{ secrets.PRIVATE_RUNNER_ACCESS_TOKEN }}
And now the image build job itself:
name: Build TinyTicker RPi image

on:
  workflow_dispatch:

jobs:
  build-tinyticker-image:
    runs-on: self-hosted
    outputs:
      image_file: ${{ steps.get_image_name.outputs.image }}
    steps:
      - name: Cleanup previous job
        env:
          RUN_DIR: /home/comitup/actions-runner/_work/private.actionsrunner/private.actionsrunner
        shell: bash
        run: |
          if [ -d "$RUN_DIR" ]; then
            echo "Unmounting and removing"
            for mnt in `df -a | grep "$RUN_DIR" | awk '{print $6}' | sort -r`; do sudo umount $mnt ; done
            sudo rm -rf "$RUN_DIR/work"
            sudo rm -rf "$RUN_DIR/deploy"
          fi
          if [ -d "/tmp/pi-gen" ]; then
            sudo rm -rf /tmp/pi-gen
          fi
      - uses: actions/checkout@v3
        with:
          repository: loiccoyle/pi-gen
      - name: Build image
        shell: bash
        run: |
          sudo apt update
          sudo ./build.sh
          sudo mv deploy/image*.zip deploy/tinyticker-image.zip
          sudo mv deploy/*.info deploy/tinyticker.info
      - name: Upload image file to Google Drive
        uses: adityak74/google-drive-upload-git-action@main
        with:
          filename: deploy/tinyticker-image.zip
          credentials: ${{ secrets.GOOGLE_DRIVE_ACCESS }}
          overwrite: "true"
          folderId: 1U-PGzkOtSynN6FGDq2MsXF9kXGdkzd0D
      - name: Upload info file to Google Drive
        uses: adityak74/google-drive-upload-git-action@main
        with:
          filename: deploy/tinyticker.info
          credentials: ${{ secrets.GOOGLE_DRIVE_ACCESS }}
          overwrite: "true"
          folderId: 1U-PGzkOtSynN6FGDq2MsXF9kXGdkzd0D
Add with that the disk image is continuously built and is always up to date with the latest release of
TinyTicker.